I don’t normally indulge in ‘do it yourself’ transformations; I have no confidence in myself, am a little scruffy, sometimes too messy and you know what, I just don’t have the time or inclination to do things myself and it’s easier to purchase something sometimes! However with the big build happening, a new kitchen to pay for and decorating the new space, DIY’ing is slowly but surely becoming my new thing… something I never thought would happen! I’m slowly getting more and more confident in myself… I have to admit I really struggled after the blog didn’t get through to the shortlist stage of the Amara Interior Blog Awards 2016 and questioned why I was doing this, butI feel invigorated after the start of the new build and I seem to be channeling my efforts into DIY’ing and making previous purchases work in their new spaces!
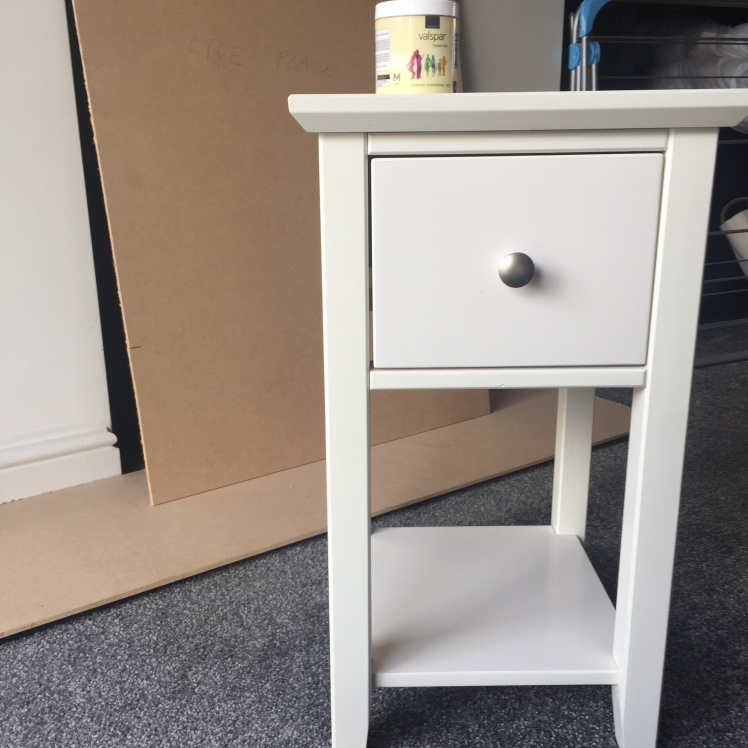
The bedroom makeover was coming along really nicely, the bespoke handmade wardrobes were looking really good thanks to Mr W, the paint colour was just perfection, the shelves were ace and adding that much needed personality to the space, but the bedside cabinets were just TOO cream (the bed is still too cream but it’s a little more difficult to do something about that… yet!!) I just didn’t feel they were in keeping in the space and I needed to do something about them! I can’t yet afford the dream West Elm side cabinets so a DIY project it was!
I knew I wanted grey to tie in the gorgeous tone of Valspar’s Apollo of the wardrobe and wanted a marble top like the gorgeous West Elm cabinet… so marble adhesive and paint was the answer! I’d seen the wonderful Kimberly from Swoonworthy totally transform her dining room shelves with marble adhesive which just look incredible now… and the lovely Chelsea from Oh So Mint had also transformed her bedside cabinets from standard bedroom furniture to a gorgeous bedside cabinet in charcoal grey with a marble top! So with those inspiring ladies in my mind I decided to go for it!
I was lucky enough not to need to sand down the cabinets, the paint covered like a dream on the cabinet… and they were totally transformed in just two coats!


As I could see the transformation happening, had began to have more confidence in what I was doing so decided to go in with the marble adhesive!
I was totally nervous using this, scared that messy me would totally ruin the cabinets… but all was ok! I measured out the adhesive, cut to size (with scissors unfortunately, next time will use a Stanley knife for a cleaner cut!) and got sticking!
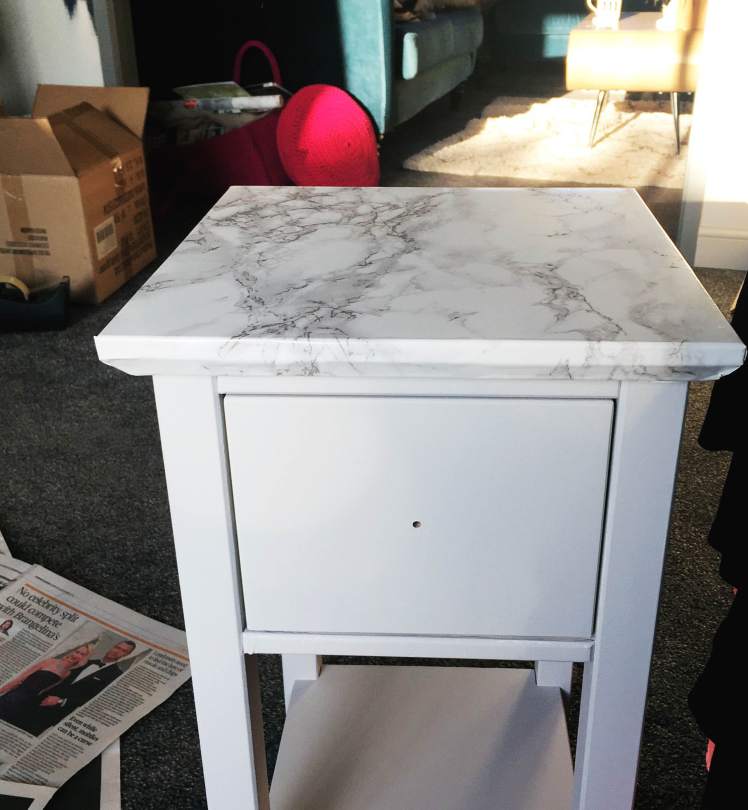
It was a little tricky in places; in particular the edges, making sure there were no air bubbles and ensuring there were no creases too… but I think I’ve done an alright job!
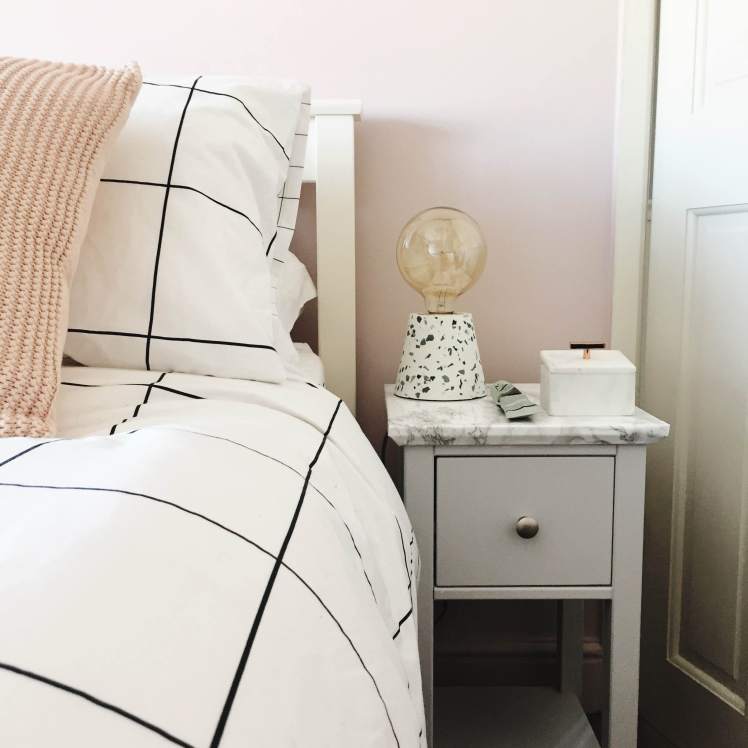
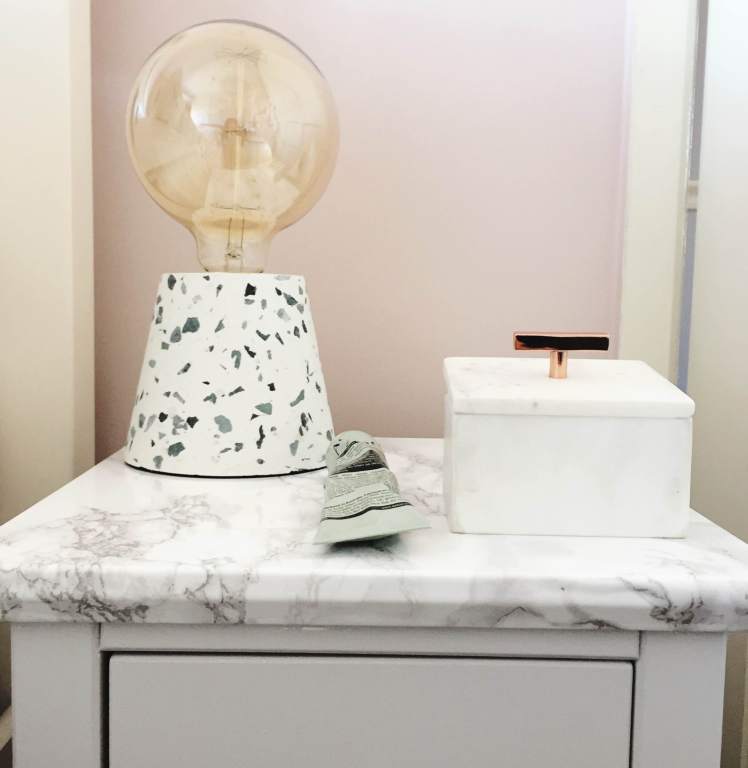
They look really fantastic in their new home and styled up with the gorgeous terrazzo lamps from Oliver Bonas they look amazing!

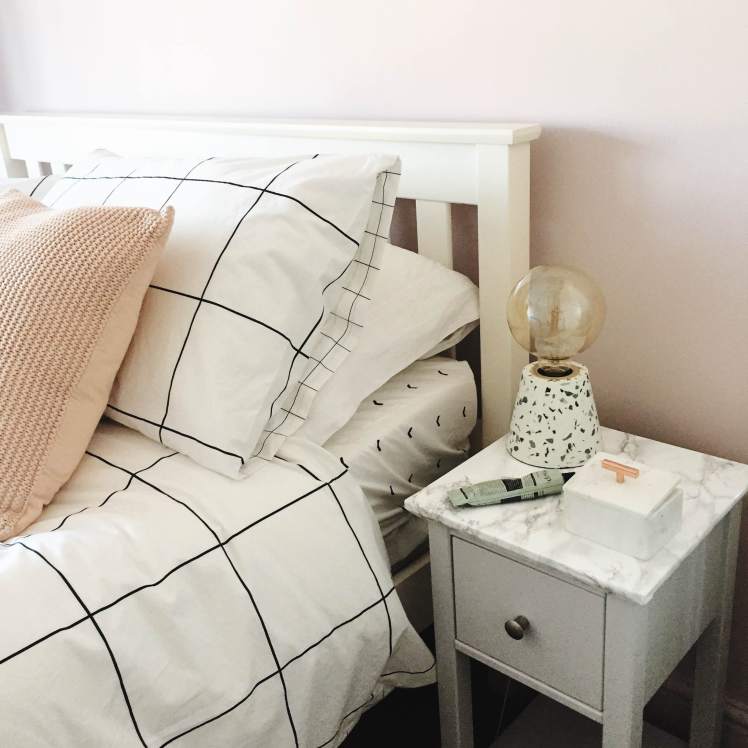
I do need to order a couple more leather handles to add onto the drawer fronts to help tie in the wardrobe but for now these little silver handles will have to do!
I just love the transformation that a lick of paint and some adhesive has made… and now want to adhesive everything! I’d love to hear what you think of my first foray into ‘doing it myself’ and love to know if you’d to see more posts like this!
These look wonderful, Jade!! What a great idea! We have this cabinet in our spare room so I may give myself this little project! Thanks for the inspo! Loving the blog.. Can’t wait to seethe kitchen xxxx
LikeLiked by 1 person
Ah thank you! I have plenty of marble adhesive left if you would like some to try out? 🙂 I’m rather excited about the kitchen too, can’t wait to show off some of the ideas later this week! 🙂
LikeLike
You already know how in love with this little hack I am. It looks amazing! Thank you so much for the lovely mention too. Can’t wait to see more progress posts! xxxx
LikeLiked by 1 person